Today the Maryland chapter of Good Noms decided to fix a favorite for dinner.
Chicken Cordon Bleu (for 4)
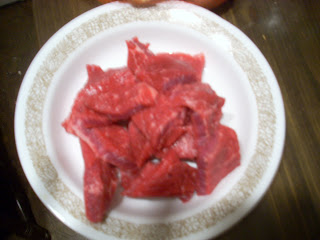
 2 chicken breasts
- 1 thick slice of ham
- 4 oz swiss cheese
- 1 cup bread crumbs
- 2 eggs
- flour (1/2 cup)
- 3-4 medium potatoes
- 1/2 butternut squash
- 1 cup cream
- 4 oz cheddar or other cheese that you prefer
- 1/4 cup milk
- butter
Slice each of your chicken in half completely into two equal portions. It helps if it's still partially frozen as you do this, lay it flat on the cutting board and pretend you are filleting a fish. Cut a piece of ham that's a bit smaller than each chicken half. Cut a piece of cheese that's about the same size of the ham, 1/8 to 1/4 inch thick. With a thin sharp knife, cut a pocket into the chicken breast halves, being careful not to cut through either of the sides, the back, or your hand. Go slow.

Stuff it with the ham and cheese. Don't force it in, or you might rip your chicken pita.

Put some flour in a dish and roll the stuffed chicken in it. Wash/dry your hands. Arrange the following things in order: floured chicken; a bowl with two eggs, beaten; a bowl of bread crumbs; pan in which you will bake your chicken (we used a cookie sheet, but a pyrex dish or even a bread pan will work.)
Your right hand is now the wet hand, the left hand is the dry hand. Dip your chicken into the egg and coat it, with your wet hand. Place it in the bowl of crumbs. With your dry hand, help coat it with the crumbs, then place it in the baking dish. You will not accumulate an excess of egg/crumb conglomerate on your fingers, and you should start feeling pretty clever about now (I did.)

If you have some leftover crumbs, sprinkle some into your baking pan to prevent sticking/grossness. Bake at 350 40min to an hour, or until you start seeing melted cheese seep out. You can also use your meat thermometer here. If, by the time the chicken is done, the top is not golden brown enough to your liking, turn on your broiler for a couple minutes.
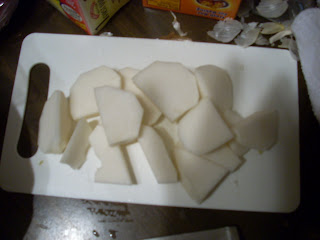
Peel the potatoes. Slice them horizontally into 8th inch thick "chips". Pop them into a pot of water set to boil.

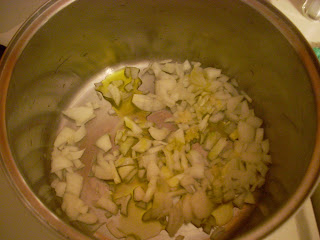
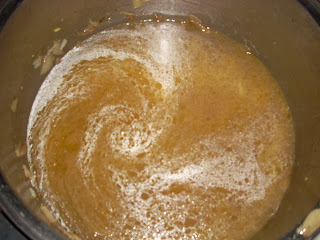
While that's happening prepare (peel, de-seed, etc.) the squash. Chop into 1/2 inch cubes. Put into another pot of water. When the potatoes become translucent, drain and set aside. Using the same pot, melt 1/3 stick of butter and the cream. Once the butter melts, add the cheese in small chunks. When the cheese melts, add the potatoes and cook on med-low heat, stirring occasionally (and carefully, you want your potatoes to look good instead of crumbly) until potatoes are cooked all the way.
If, by this point in time, the squash is fork tender, drain it. Take out your potato masher and go to town. Add the 1/4 milk (little by little, you might need less) and 1/2 tbsp butter, salt and pepper to taste.


Serve. Bring to work if you want to impress your lunch-mates with your skill and make them salivate at your creations.
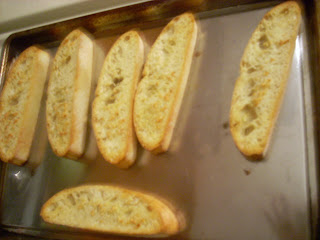
P.S. Consider yourself lucky if you have some old bread (not the mushy white kind you get for 99 cents, but the firm kind you get at the bakery or bake yourself). Get out your largest cheese grater and grate your hardened bread on it (or put it into the food processor, but I found this doesn't work as well as the other method). Spread the crumbs out on a cookie sheet, sprinkle with seasonings (parsley, oregano, garlic powder, I stay away from salt because don't want the chance that my dishes will end up super salty). Bake at 350 for literally a couple minutes, until crispy. Put into an airtight container. Pat self on back.
 Carrots - 2 large
 MEANWHILE...

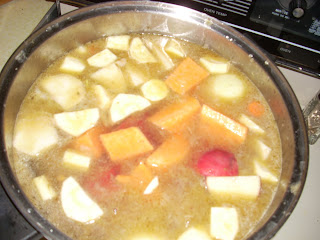
 Once the spices are absorbed, add about 4 cups of water, or enough to almost cover the vegetables. Let cook for about 40 on med-hi. Once the veggies get close to fork tender, give it a taste to see if any more spices are needed, turn down to low, then in goes the coconut milk. Give it a good stir.